Taking your new Mavic Pro out of the box and flying it for the first time can be as daunting as it is exciting, especially if you’re not an experienced drone pilot.
Here are a few tips to guide you through flying your Mavic for the first time.
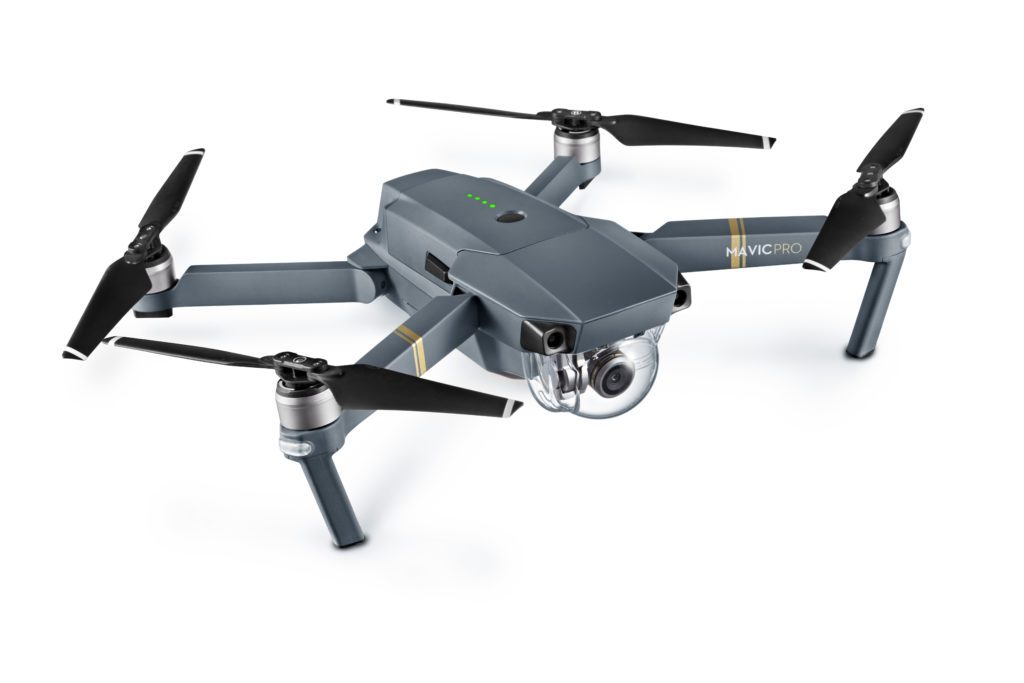
If you haven’t already, the first thing you’ll need to do is (obviously) take your Mavic out of the box and charge both the controller and the battery. Once this is done, carefully unfold it and attach the propellers. The two you need to attach have markings to match with the vacant spaces. Just line them up, click them on and twist. Then the real work begins…
Remove the camera cover and clip
The camera cover and clip are designed to protect the gimbal and camera during transport. But both shouldn’t be used beyond that point. The clip, in particular, should be removed before you turn on the Mavic. Because the starting sequence takes the gimbal through a number of test manoeuvres, switching on the drone while the clip is in place will leave your gimbal struggling to break free and might cause some damage.
Removing the cover is more for aesthetic reasons. Depending on the light conditions, it could cause glare in your footage. Either way, it’s not going to help the quality of your aerial photography.
Update before flying
When you connect your Mavic to the DJI Go app through the controller, you might see some notifications telling you that updates are required. Make sure you do this before taking your drone out for a flight. It’s likely that you’ll need a strong WiFi signal to download the firmware upgrades. Downloading and installing the updates could take half an hour or more.
It’s not a good idea to fly without the latest updates installed. DJI are constantly patching the firmware to make your Mavic flight smoother and safer, so let the tech team do its work.
Calibrate
The Mavic arrives calibrated to an extent, but you can see the status of the different flight systems before you take off. The internal compass, the gimbal and the controller can all be calibrated to ensure your first experience of flying goes smoothly. Definitely run through these before you take off for the first time.
Think about battery life
After all of that updating and calibrating, you’re probably going to have lost a significant amount of battery life in both the controller and the drone. Take this into account for your first flight, and think about charging up again before you head out.
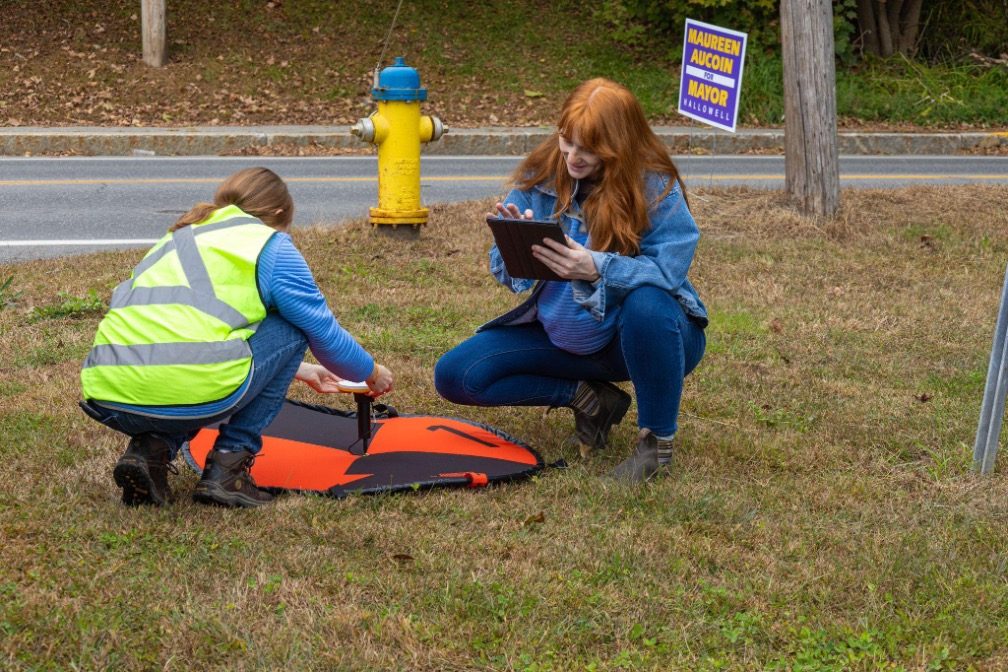
Take-off from a safe, recognisable location
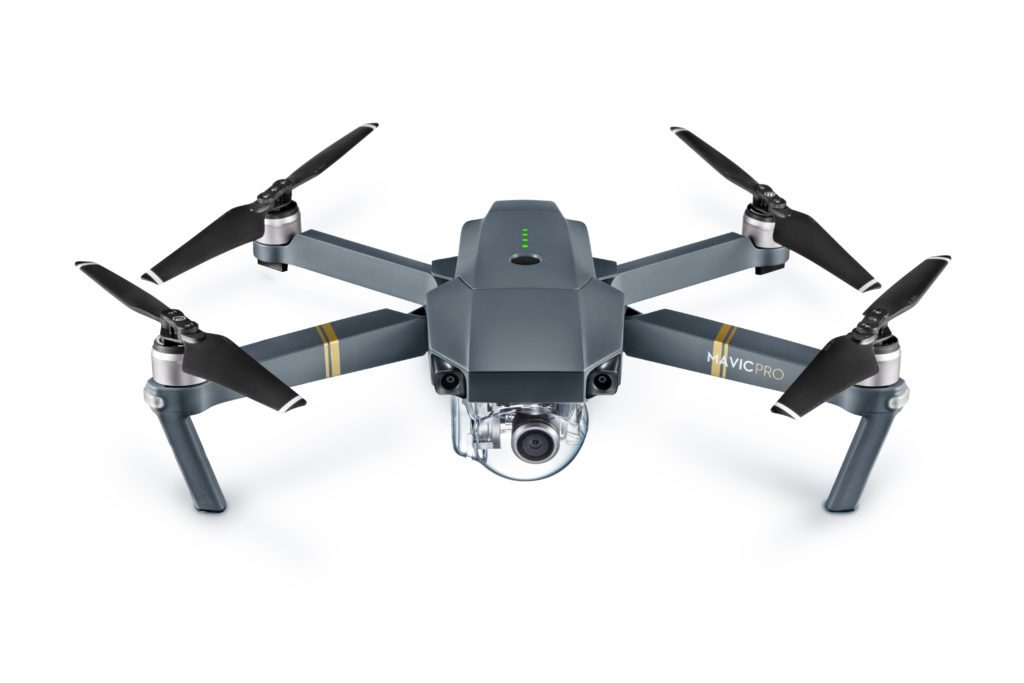
The DJI Mavic Pro has a pretty clever Return to Home system. It’ll use a combination of GPS and visual positioning to determine the exact point from which it took off and return to it in the event of a loss of connection. You can also select this function at any time during flight. Make sure you set your RTH location to an open-ish area to allow for any deviation on the way back. It’s likely that you won’t need it during your first flight, but it’s good practice to set it up properly anyway.
As well as having a clear area to return to, ideally you should take off from a non-uniform location. By that, we mean a small area that the drone will be able to recognize on the way back, like a landing pad. It’s unlikely that your Mavic will be able to distinguish between uniform patches of grass or concrete, so choose a take-off point with that in mind.
Don’t forget to set your return to home height to something appropriate for your surroundings. Generally flying higher is better – you don’t want to hit any trees or buildings if the function kicks in and takes over.
Adjust your camera settings
Within the DJI Go app, there’s a huge range of camera settings to go through, including gimbal sensitivity, ISO and shutter speed. Once you’ve gained altitude and have a good idea of what you’re going to be shooting, go through the options and see what works best for the conditions. There are a handful of preset exposure settings if you want to quickly adjust the camera to the light conditions.
Lowering the sensitivity of your gimbal is also a good idea if you’re looking to get smoother, more professional footage.
Use the right flight mode
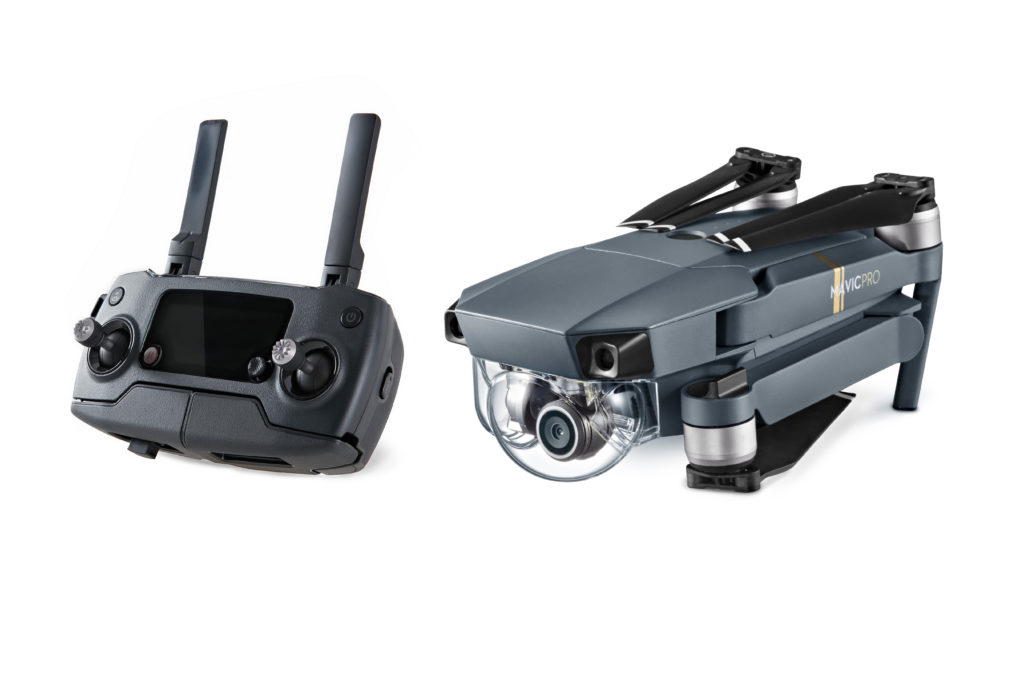
Although it’s a good idea to fly completely manual on your first few goes, don’t forget to try DJI’s wide range of flight modes. Tripod lowers the control sensitivity and your top speed, making it perfect for flying indoors. ActiveTrack will follow a subject and keep it in frame; Orbit does exactly what you think it does. All of these and more can really add to your aerial photography repertoire.
Don’t forget to press record
It sounds ridiculously obvious, but don’t forget to press record – either on the right-hand side of the app screen or on your controller. Watching the stream through your smartphone or tablet, it can be easy to assume that all your footage is being saved. It isn’t unless you press record.
Tap to focus
When watching the stream through your mobile device it can be difficult to see exactly how focused your shots are. Don’t forget to use the Mavic’s tap to focus function. Just tap on the part of the image you want to focus on through the app. There’s also a button on the controller that will automatically focus on the center of the screen.
Malek Murison is a freelance writer and editor with a passion for tech trends and innovation. He handles product reviews, major releases and keeps an eye on the enthusiast market for DroneLife.
Email Malek
Twitter:@malekmurison
Subscribe to DroneLife here.

Thanks for the heads up.it really helps