 Whether you’re a newbie or an experienced drone racer, eventually you might want to take your video editing skills to the next level. Even though sometimes all you need is to cut out a fragment of your footage and add music, other times – just few extra steps will make your video look cinematic.
For this post, we’ve partnered with VSDC, free video editing software for Windows, to demonstrate 7 ways to produce eye-catching effects including such famous ones as the “video inside text” mask and the vertigo effect. The best part about them, you won’t need much time, experience, or expensive software.
If you’re already using some advanced-level video editor, you should be able to replicate all the recommendations below. But if you’re currently looking for one, and you’re on PC, VSDC might be a smart choice not only because it’s free and capable but also because it barely uses your system resources and runs well even on low-end computers.
Idea #1. Widescreen ratio (cinematic effect)
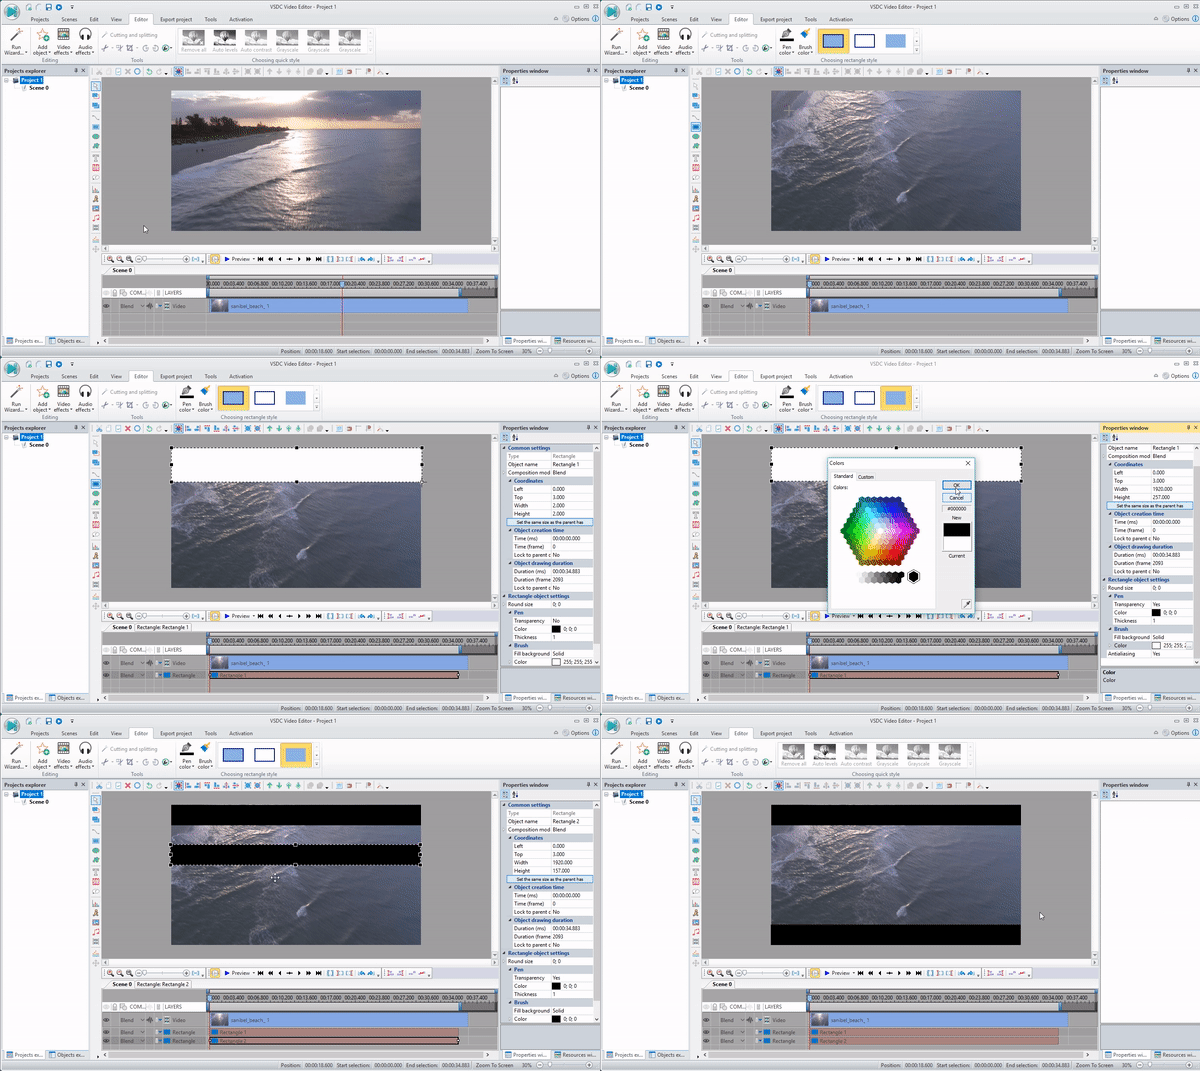
Thanks to Hollywood, we’re so used to associate high-quality cinematography with the “black bars” on the top and the bottom of our screens, some movie makers started to imitate them just to create this illusion of a video shot with a widescreen ratio. Truth be told, however, most videos instantly start looking cinematic when letterboxed.
To achieve this effect, you don’t have to go to the ratio settings and calculate the right proportions to resize the footage. All you need to do is create a rectangle object, fill it with black, duplicate and place at the top and the bottom of your video as shown on the GIF.
Idea #2. Video inside text (Text mask)
Text mask is probably the best way to start a scene. It’s widely used by professional video editors, and you’ve surely noticed this effect hundreds of times in travel videos and even on TV. Technically, a text mask is just a video seen through letters, but to a newbie, it looks more complicated than it really is. VSDC Video Editor allows you to achieve it in less than a minute.
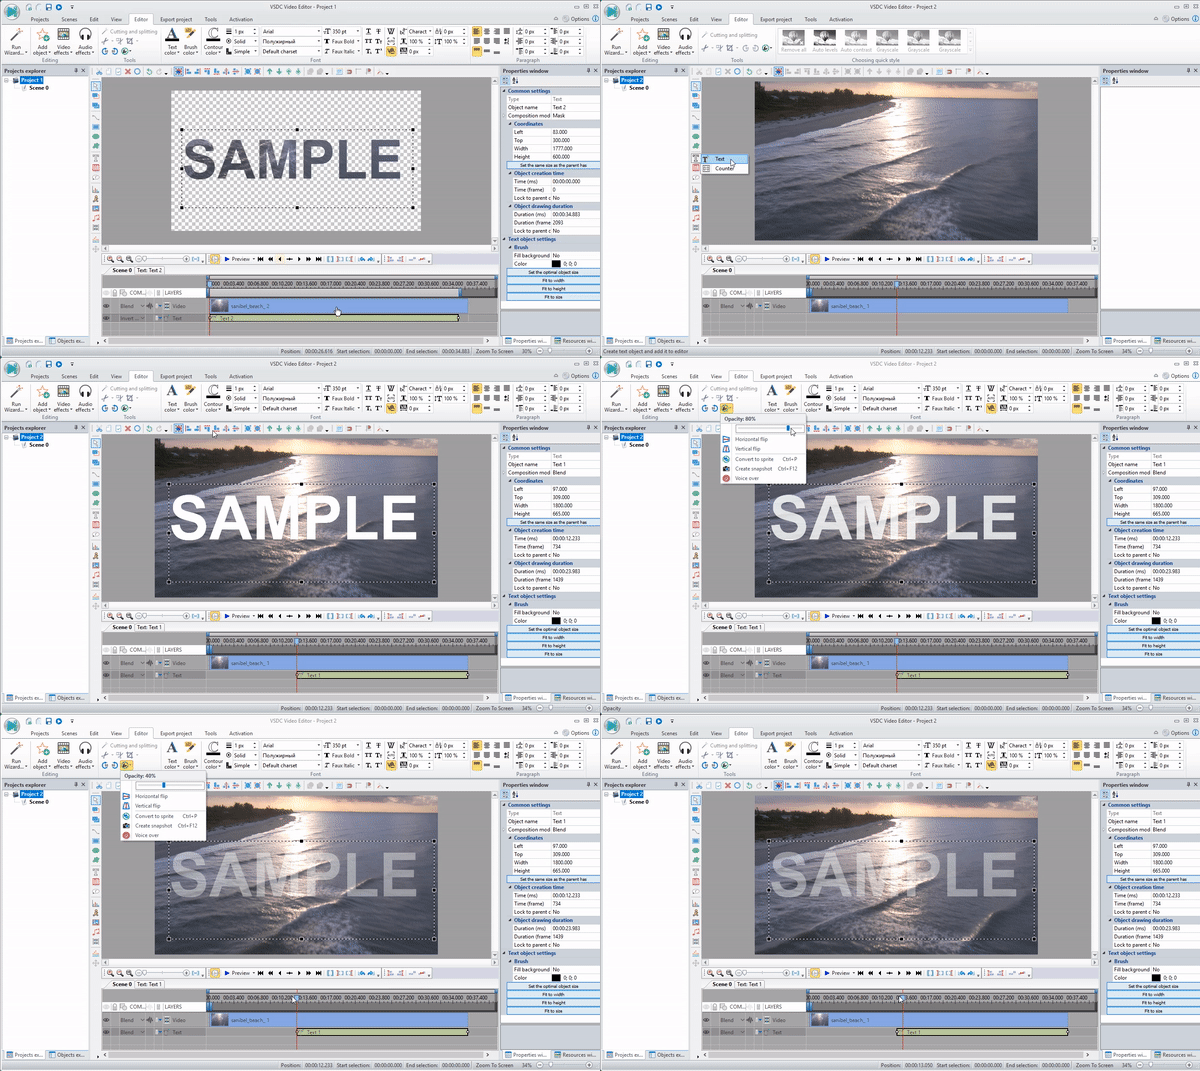
Once you’ve started a project, add a text object to a timeline and enlarge it accordingly. Click twice on it to open a new tab and add the video you want to play on the background. Stretch the video to cover the entire text and choose the “Source in” blending mode from the left-side menu on the timeline.
Idea #3. Contour text overlay
There is another often-overlooked technique you may want to consider for your project when adding comments or titles. Contoured text looks less distracting than a text mask, yet, much more authentic and stylish than a regular solid title. If your goal is to keep maximum attention on the image, it might be a better choice.
To create a contoured half-transparent title, add a text object and make adjustments using the built-in text editor on the top toolbar. You can choose the color of the text, its contour, and the level of opacity based on the desired look.
Idea #4. Split screen
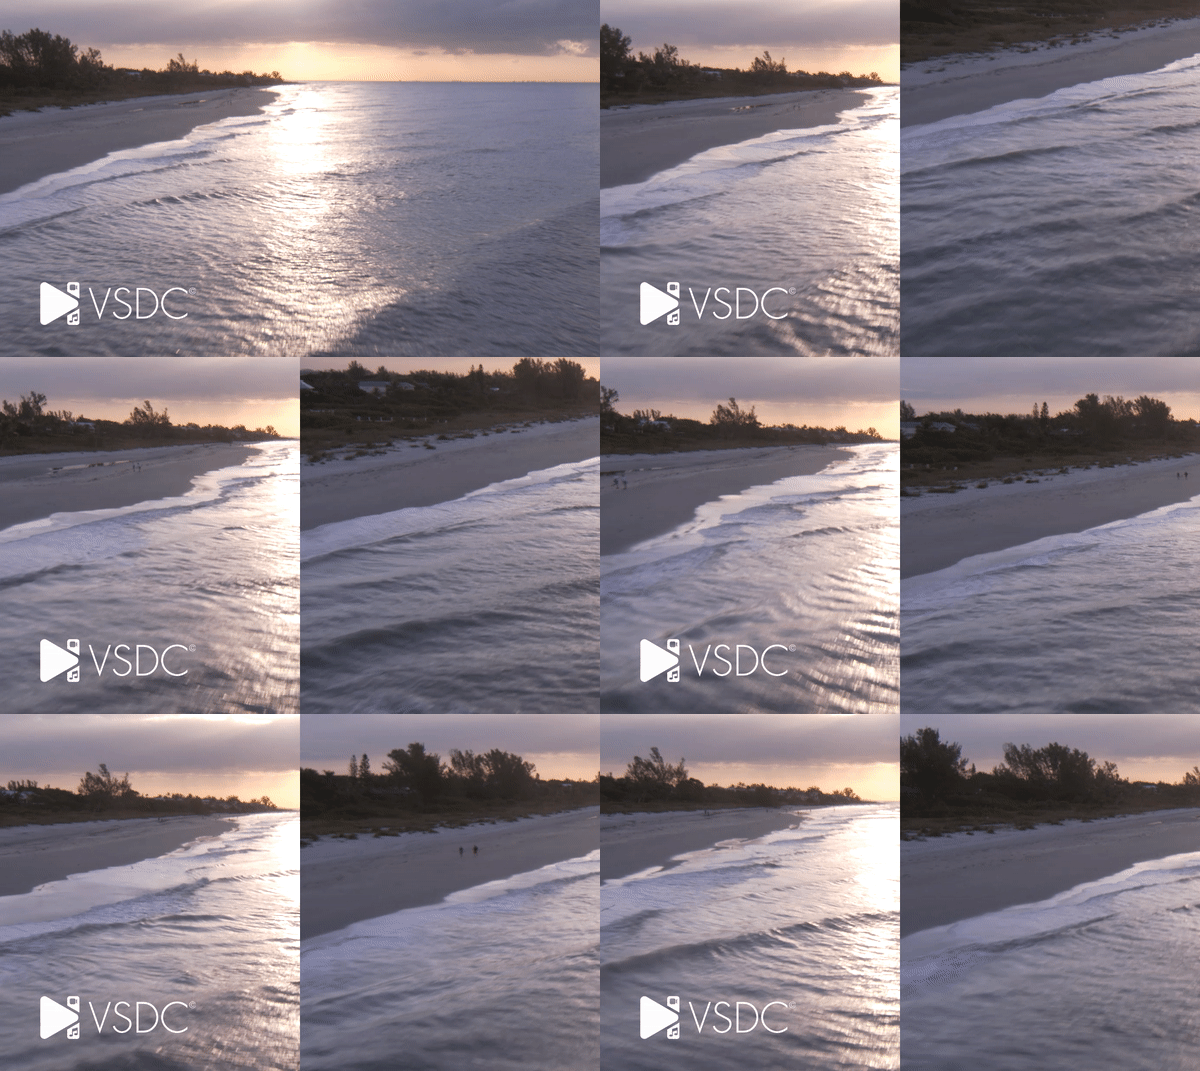
Split screen is often used in production for showing the same object shot from different angles or creating the “before and after” effect. The easiest way to achieve it would be by placing two videos side by side. If you want to create a mosaic-looking video compiled of multiple clips, splitting the screen into more parts will do the trick.
You may want to try it for simultaneously showing various places you flew with your drone or, for example, comparing the same spot shot during the golden hour and the blue hour.
To achieve the split-screen effect in VSDC, simply add your video files to the timeline, resize them using drag’n’drop motion and place on the scene accordingly.
Idea #5. Motion Blur
You probably have heard of this one before, because applying Motion Blur is among the most recommended tips for drone video shooters. The reason being is that motion blur makes videos look more natural and filmic, meanwhile, its absence may create a “strobing effect” as Charles Yeager puts it in his tutorial on Envato.
When you fly at a comparably high speed close to the water, trees, or other uneven surfaces – especially if you’re using a more affordable drone model – the footage may lack the natural blur and look distracting. So, it’s a good practice for you to add fake motion blur in post-production. In VSDC, just go to the Video Effects dropdown menu at the top of the program, scroll to Filters and choose Motion Blur. Then go to the Properties menu on the right side of the dashboard and adjust the transparency level to have the image less blurry until you achieve the desired image.
Idea #6. Dolly zoom (Vertigo effect)
This is another mesmerizing effect that might look complicated when you see it in a video, but actually takes just a few seconds to replicate and doesn’t require any special skills. First introduced by Alfred Hitchcock, Dolly zoom has been used in many movies including Scarface and Lord of the Rings. Today, it’s one of the favorite tricks of professional drone videographers.
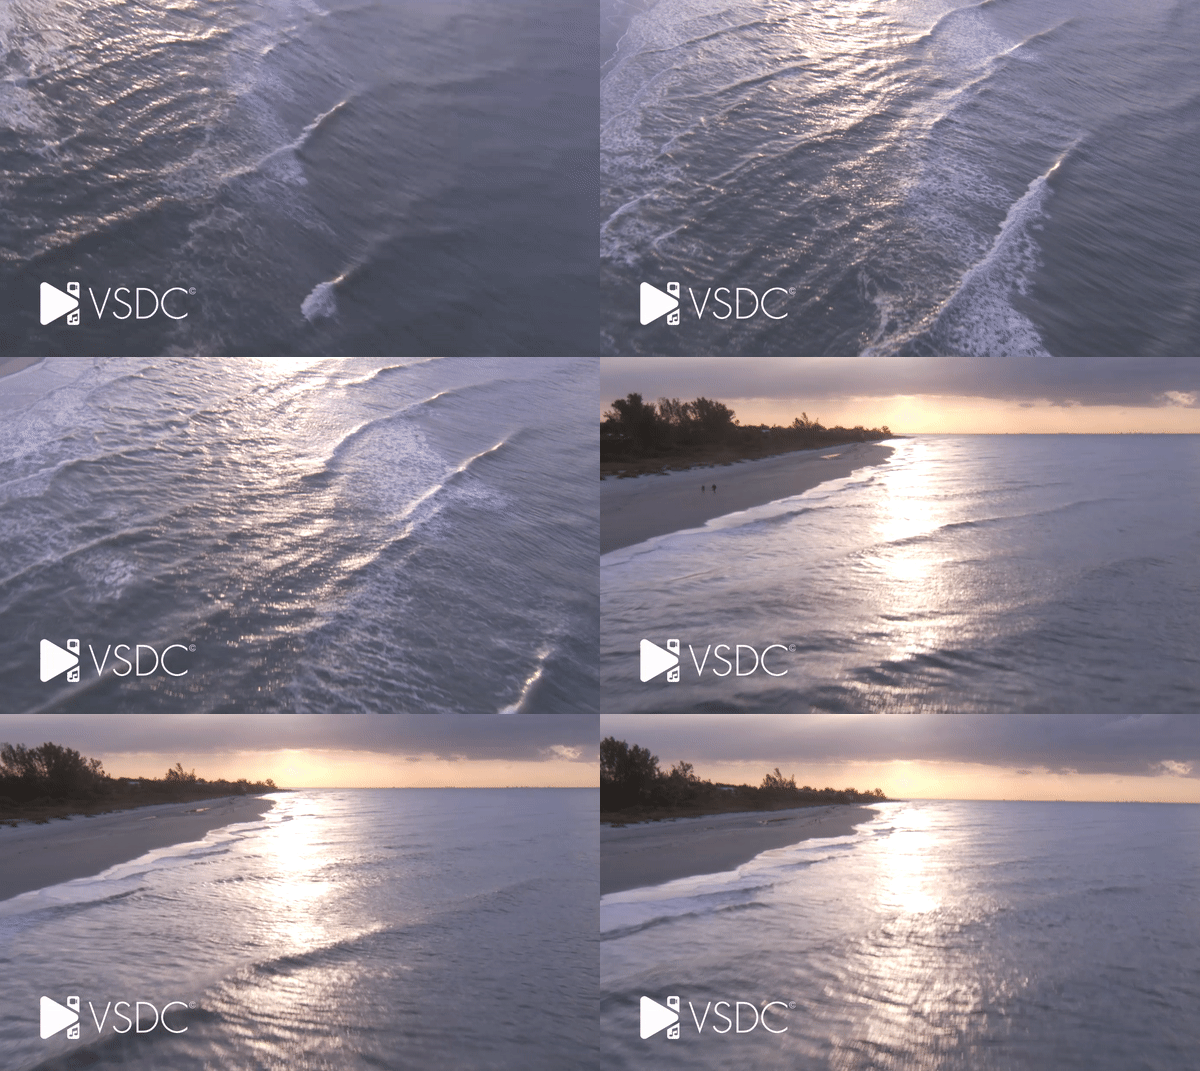
If you’d like to see more examples of Dolly zoom used in cinematography and drone videos, you can check this tutorial by Tom Tech’s Time.
To get this illusion, all you need is to shoot a video with a drone flying backwards (instead of towards) and then apply the Zoom in transformational effect. In order to avoid quality loss, it’s highly recommended to shoot in 4K. Once you’re done with editing, consider using H.265/HEVC codec for exporting because it keeps the highest video quality at the minimum file size. Here you’ll find a detailed tutorial on zooming a particular part of the video using VSDC.
Idea #7. Color gradient
Color grading is the most time-consuming trick on the list, but it is also the most impactful one. Not only is it capable of enhancing the footage, but it does make your movie look outstanding. The color grading feature gives you the power to change the mood of the video and create a completely different picture. So, even though it takes some effort and patience to figure out how it is applied, it’s definitely worth trying because the results are always impressive.
Unlike most professional-level video editing software (think Adobe Premiere), VSDC is slightly unconventional when it comes to color correction. Instead of working with the color wheels, you’ll need to add an additional color graded layer to the timeline and blend it with the video. There is a detailed video guide available here.
Afterword
Aerial videos allow us for seeing the world from a birds-view perspective – and this is why most of them look stunning even in their original versions. Racers, however, resort to post-production techniques more often today willing to make their videos stand out and add a personal approach to storytelling. And since we’ve just established that you don’t have to be a professional shooter to produce amazing content, go ahead and try these video editing tricks on your drone footage to see how quickly it can be turned into a masterpiece.



[…] Puedes empezar poco a poco, simplemente corta y fusiona un par de fragmentos, eso está bien. Nadie nace con habilidades profesionales de edición de vídeo. Así como aprendiste a operar tu dron, dominarás el arte del montaje en la medida necesaria. Y cuando estés listo para pasar al siguiente nivel, consulta este artículo sobre 7 trucos de edición de vídeo para que tus imágenes con drones parezcan cinematográficas . […]