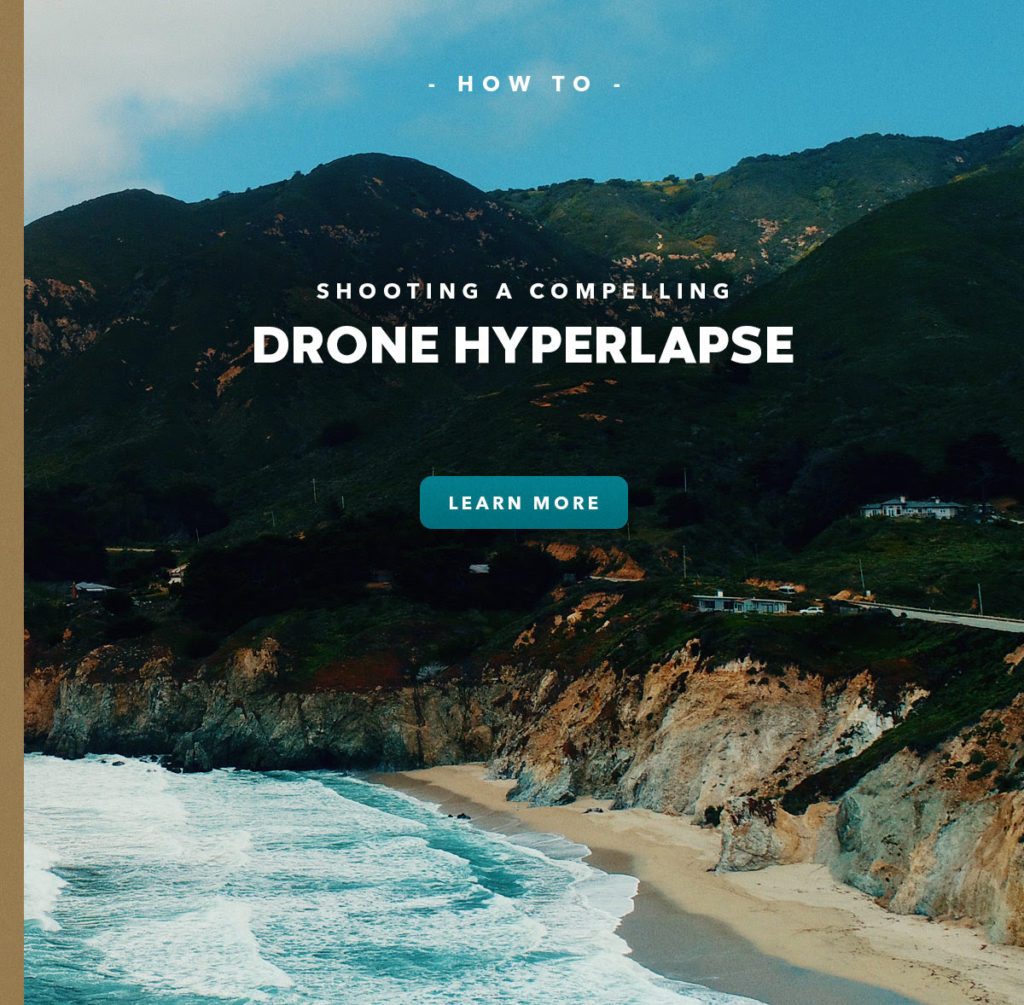
Photography specialists PolarPro have put together a quick tutorial for drone pilots who want to have a go at shooting a hyperlapse.
If you’re unaware of the term, it’s essentially the same as a timelapse but with a broader range of motion.
With a timelapse, the camera doesn’t tend to move from a fixed point, and the video is sped up for artistic effect. With a hyperlapse, the range of motion of the camera – in this case a drone – is much wider.
That means you can fly down a beach, along cliff tops or, to be, honest, anywhere within reason. The key is, just like with a timelapse, that you have a subject that has a degree of movement: boats floating around in a harbour, waves lapping on the shore, clouds rolling across the sky. You get the idea.
Read more: PolarPro Launches One-to-One Aerial Photography Tutorials: PolarPro EDU
Anyway, here’s PolarPro’s hyperlapse tutorial. The video is below:
And here are the settings that PolarPro used to create the above video. The tutorial was designed to work with the DJI Mavic Air and the Phantom 4 Pro. But you should be able to set up other DJI drones in a similar fashion.
Read more: Review: PolarPro Accessories for the DJI Mavic Pro
The first thing you have to do is arrange your camera settings.
For the Mavic Air:
- Timed Shot with a 2-second interval
- JPEG image format
- A 16:9 aspect ratio
- Locked white balance at 5500
- Shutter Speed at 1/60th, which required an ND32 filter due to the lighting conditions
- Tap-To-Fly Flight Mode with a speed setting of 2m/h
For the Phantom 4 Pro:
- Timed Shot with a 5-second interval
- RAW image format
- A 16:9 aspect ratio
- Locked White balance at 5500
- Shutter Speed at 1/60th, which required an ND32 filter due to the lighting conditions
- Waypoint mode with a speed setting of 2m/h
Read more: PolarPro Expands Post-Production Tools
Final things to consider when shooting a drone hyperlapse
PolarPro also offer some solid advice that you should take into account when shooting your hyperlapse.
To start with, think about the wind speed. If your drone is being buffeted around during the flight, it’s going to be really noticeable when it comes to making the hyperlapse. Fly smooth.
Second, think about your flight path and how fast your drone should be flying. Go too fast and you risk moving too far. The moving subject you are capturing could be left out of shot.
One final thing…
If all that sounds like a lot of effort to achieve the timelapse shot you are looking for, the new Parrot ANAFI comes with a one-touch hyperlapse flight mode. We’ll be publishing our review and featuring some footage of that soon.
Malek Murison is a freelance writer and editor with a passion for tech trends and innovation. He handles product reviews, major releases and keeps an eye on the enthusiast market for DroneLife.
Email Malek
Twitter:@malekmurison
Subscribe to DroneLife here.
